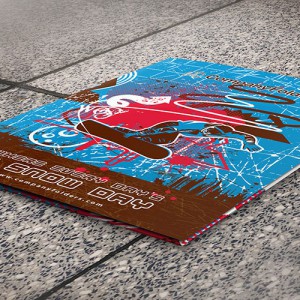
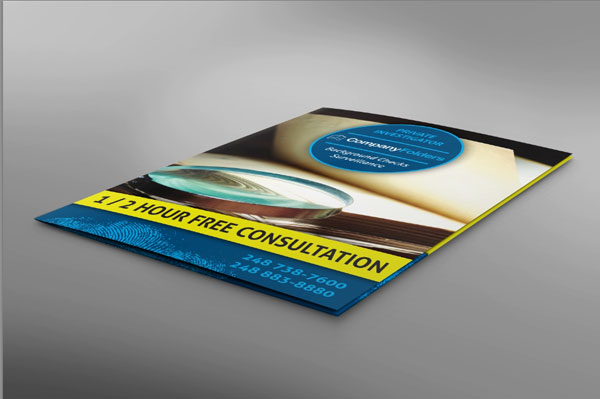
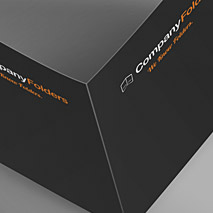
 Our 100% free folder mockup templates allow you to create a beautiful, realistic image of how your folder design will look after it’s been printed and constructed. They compliment many of our presentation folders and two pocket folders.
You can use mockup templates to:
- Test and preview your folder design before sending it to a printer
- Send a design to a current or potential client for review
- Display your design in a web portfolio or on a personal website
- Create a folder design from scratch (instead of designing on a die cut template)
If you’re unclear how mockups work or could just use a few pointers, never fear. This guide will help you to easily download and modify any of our PSD mockup templates.
Finding & Downloading Folder Mockup Templates
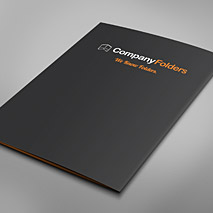
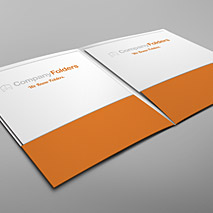
All of our folder mockup templates can be found on the Company Folders website within our Freebies section. Here are a few examples:
Modifying Folder Mockup Templates
It’s easy to customize our mockups with your own design, or even use them to create a new design completely from scratch. Whether you want to add a design element or alter the physical structure of the folder itself, these tutorials will assist you.
Switching from Square to Round Corners
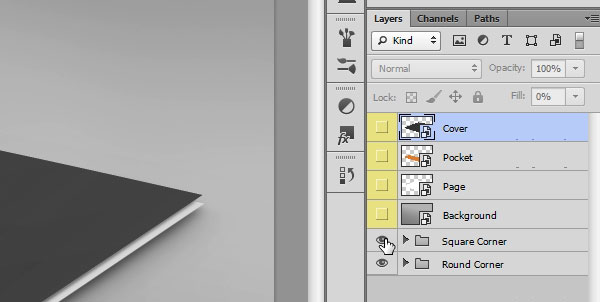
All of Company Folders’ mockups have square corners by default, but you can easily switch to rounded corners by hiding the “Square Corner” layer group.

Just click the eye icon in the Layers panel next to the group labeled “Square Corner” to remove the square corners, leaving the round corners visible.
Removing Pockets
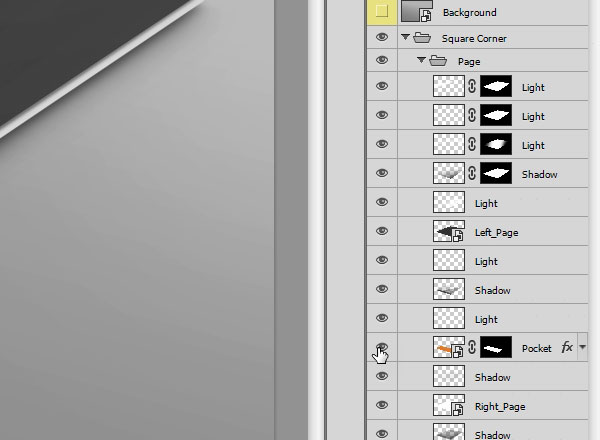
There may be situations where you won’t want pockets to appear on your mockup. This is easy to achieve; it’s as simple as hiding the corresponding pocket layer.

If you’re using square corners: Open up the “Square Corner” layer group, locate the layer labeled “Pocket,” and click the eye icon next to it to hide the pocket.
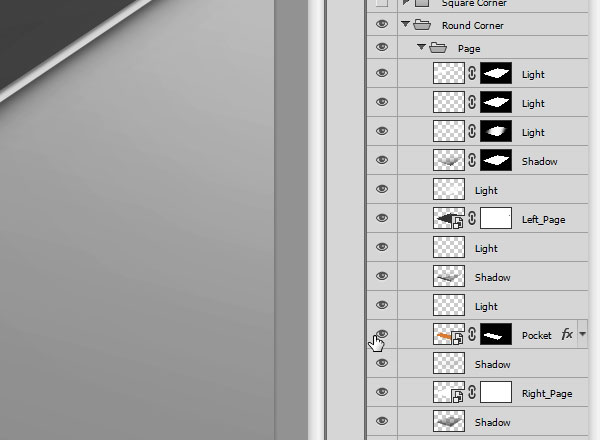
If you’re using round corners: After hiding the “Square Corner” layer group, open the “Round Corner” layer group, locate the layer labeled “Pocket,” and click the eye icon next to it to hide the pocket.
Changing Folder Stock
After downloading paper stock textures, you can add them to your folder mockup by taking the following steps.
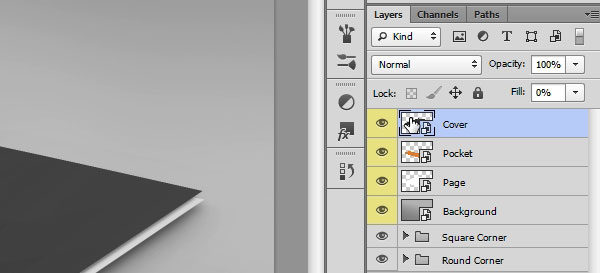
1. Double-click on the thumbnail image of the layer corresponding to the part of the folder you want to alter. We’ll begin by changing the paper stock on the folder’s cover, so we’ll open the layer labeled “Cover” to open up the cover smart object.
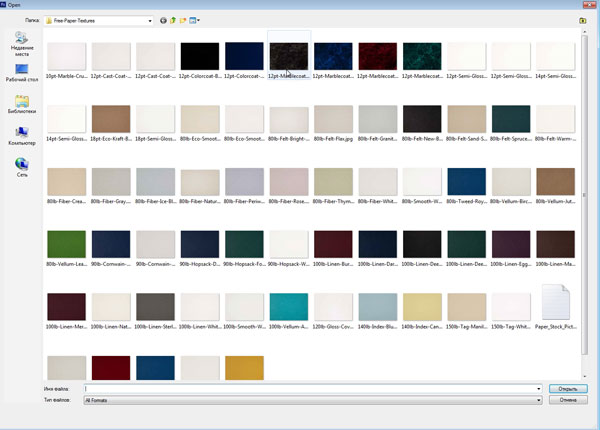
2. Go to File > Open and select a paper stock image.
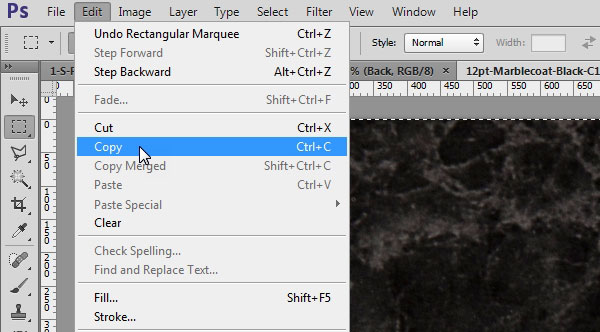
3. Using the Rectangular Marquee tool (Ctrl+A), select the entire paper stock layer. Then copy it by using Edit > Copy or Ctrl+C.
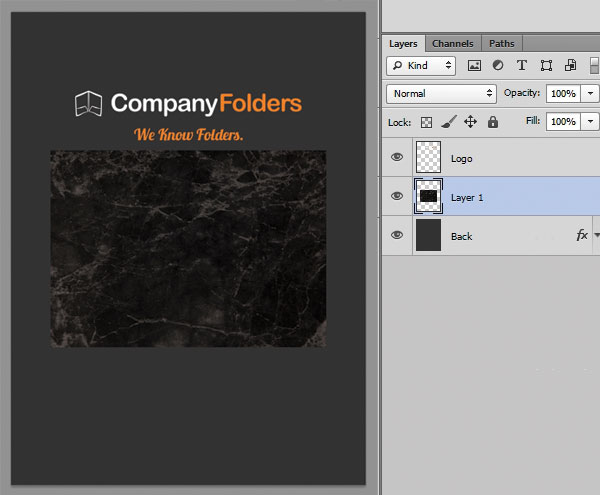
4. Paste the paper stock image from the clipboard into the “Cover” smart object. Be sure to place it between the “Back” and “Logo” layers in the Layers panel.
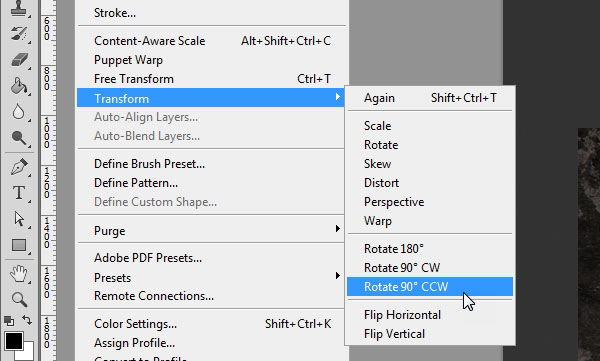
5. Rotate the stock image 90° counter-clockwise by using Edit > Transform > Rotate 90° CCW.
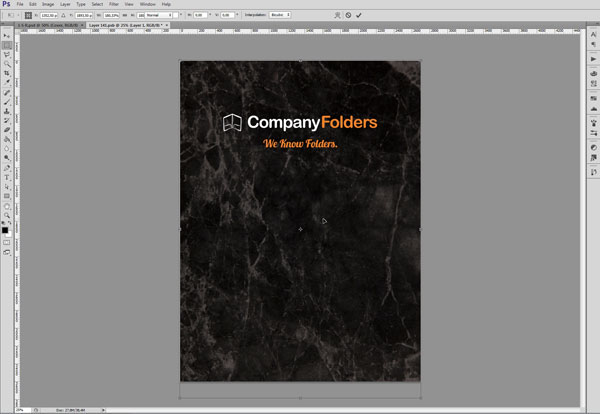
6. Resize the stock image so that it takes up the full area of the smart object. You can do this with the “Free Transform” tool by clicking Edit > Free Transform or pressing Ctrl-T.
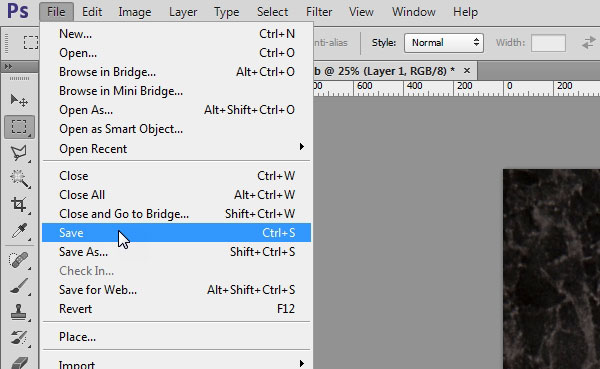
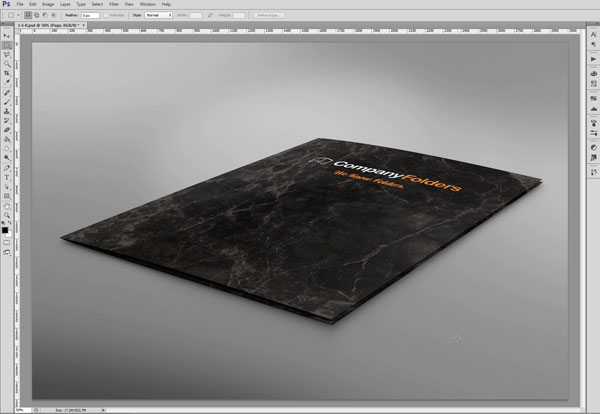
7. Save by selecting File > Save or using Ctrl-S. The cover image on the mockup file will now have the new paper stock.
8. Repeat this process for any other parts of the image you want to have a new stock, such as the back cover, interior panels or pockets.
Editing the Printed Mockup Design Directly
You can create a design directly in the folder mockup by simply deleting the elements you don’t want and replacing them with new ones. As a example, we’ll show you how to replace the Company Folders logo and text on a mockup cover with your own text.
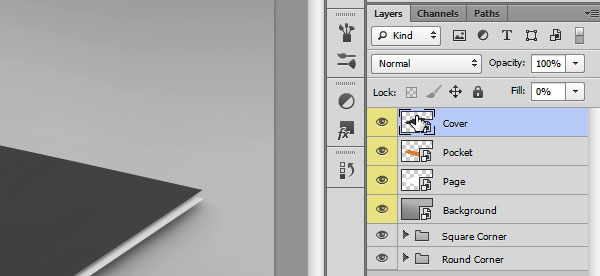
1. Double-click on the “Cover” layer thumbnail to open the cover smart object.
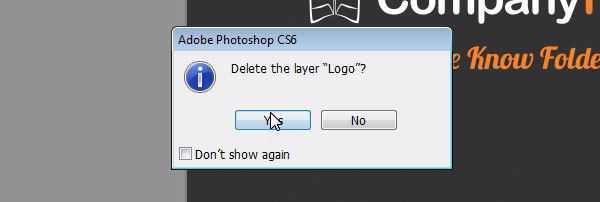
2. Delete the “Logo” layer by dragging it to the garbage icon in the layer panel.
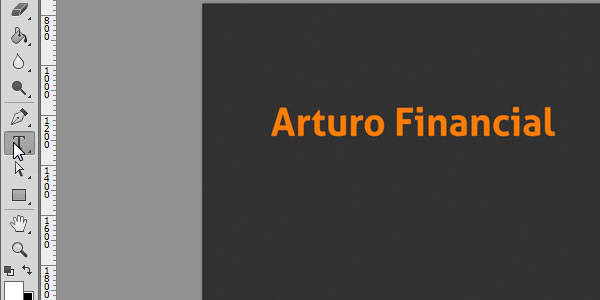
3. Select the Type Tool (from the bar on the left or by pressing the T button) and use it to add text in the size, color, font and position of your choice.
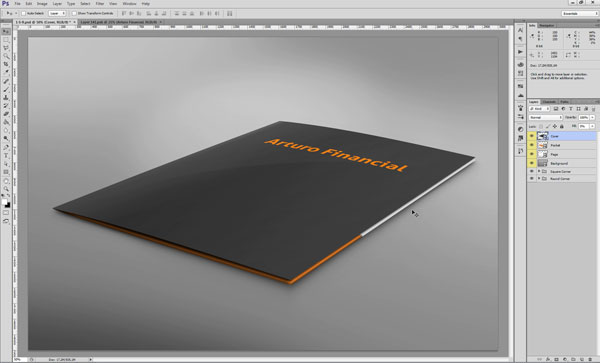
4. Save the results and you’re good to go!
Creating Mockup-Ready Images from Design Templates
If you’ve already created your folder design on a die cut template and want to transfer that artwork into a mockup template, this section is for you. We’ll demonstrate how to create design images from a flat template (using our folder design templates as an example) so that you can later apply those images to a realistic mockup.
Creating Mockup-Ready Images from an Illustrator Template
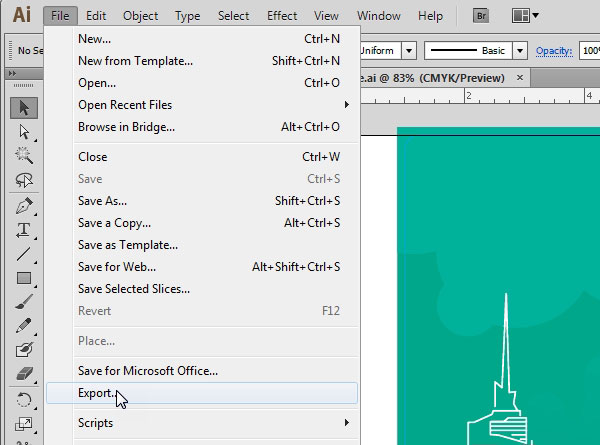
1. Open the Illustrator template and export it to JPG format using File > Export.
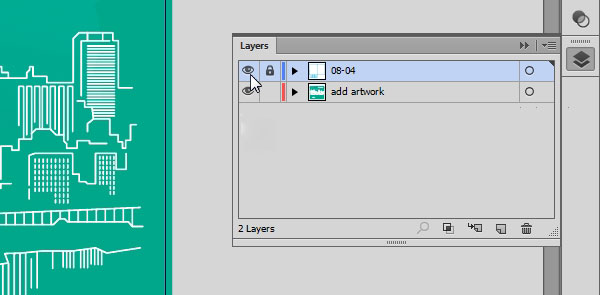
2. Hide the layer with the folder’s die cut lines by clicking the corresponding eye icon in the Layers window. Export a JPG of this version of the design as well, using File > Export.
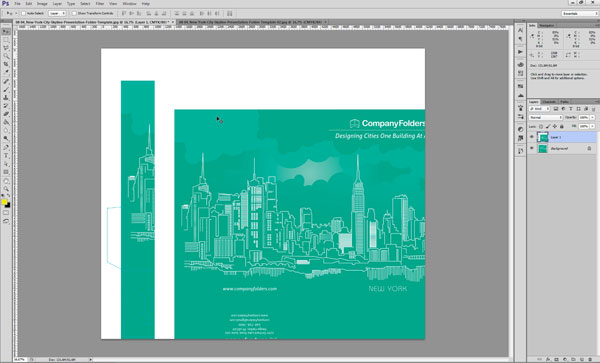
3. Open up both JPG files in Photoshop. Using the Move Tool (select it from the left bar or just press the V button), click and drag the image with no die cuts into the one that contains die cuts.
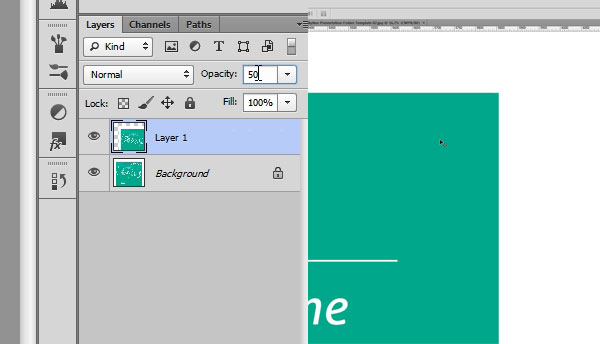
4. From the Layers Panel, set the top layer (the one with no die cuts) to 50% opacity. Position the image on this layer so that it is in the exact same position as the layer below it. Set the opacity back to 100%, then move the layer with die cuts over the layer with no die cuts in the layer window, but keep the layer with no die cuts selected.
5. We’ll begin by extracting the template’s cover. Make sure that only the top layer is selected. Using the Rectangular Marquee tool (press the M button), select the folder’s cover (along the die cut lines which should now be visible) and copy it to the clipboard (Ctrl+C).
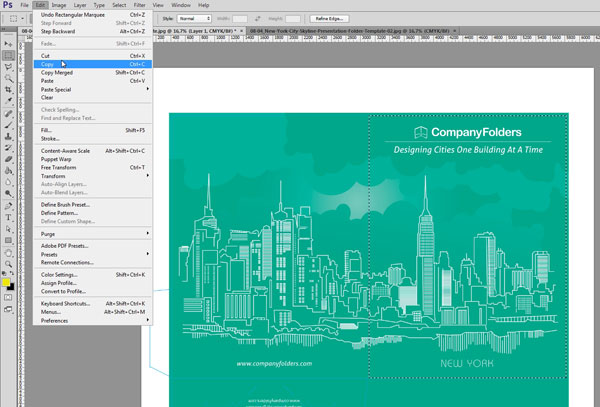
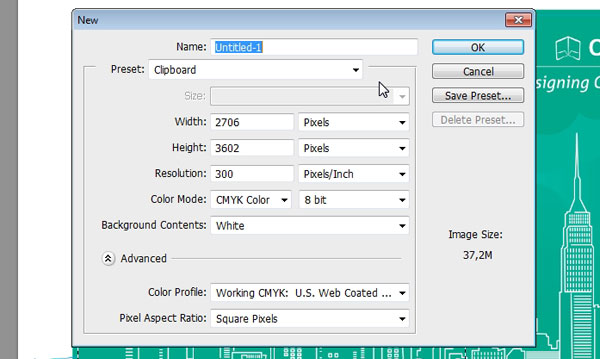
6. Create a new Photoshop file by clicking File > New. Photoshop will automatically fill in the required size, resolution, and color model based on the image you’ve copied.
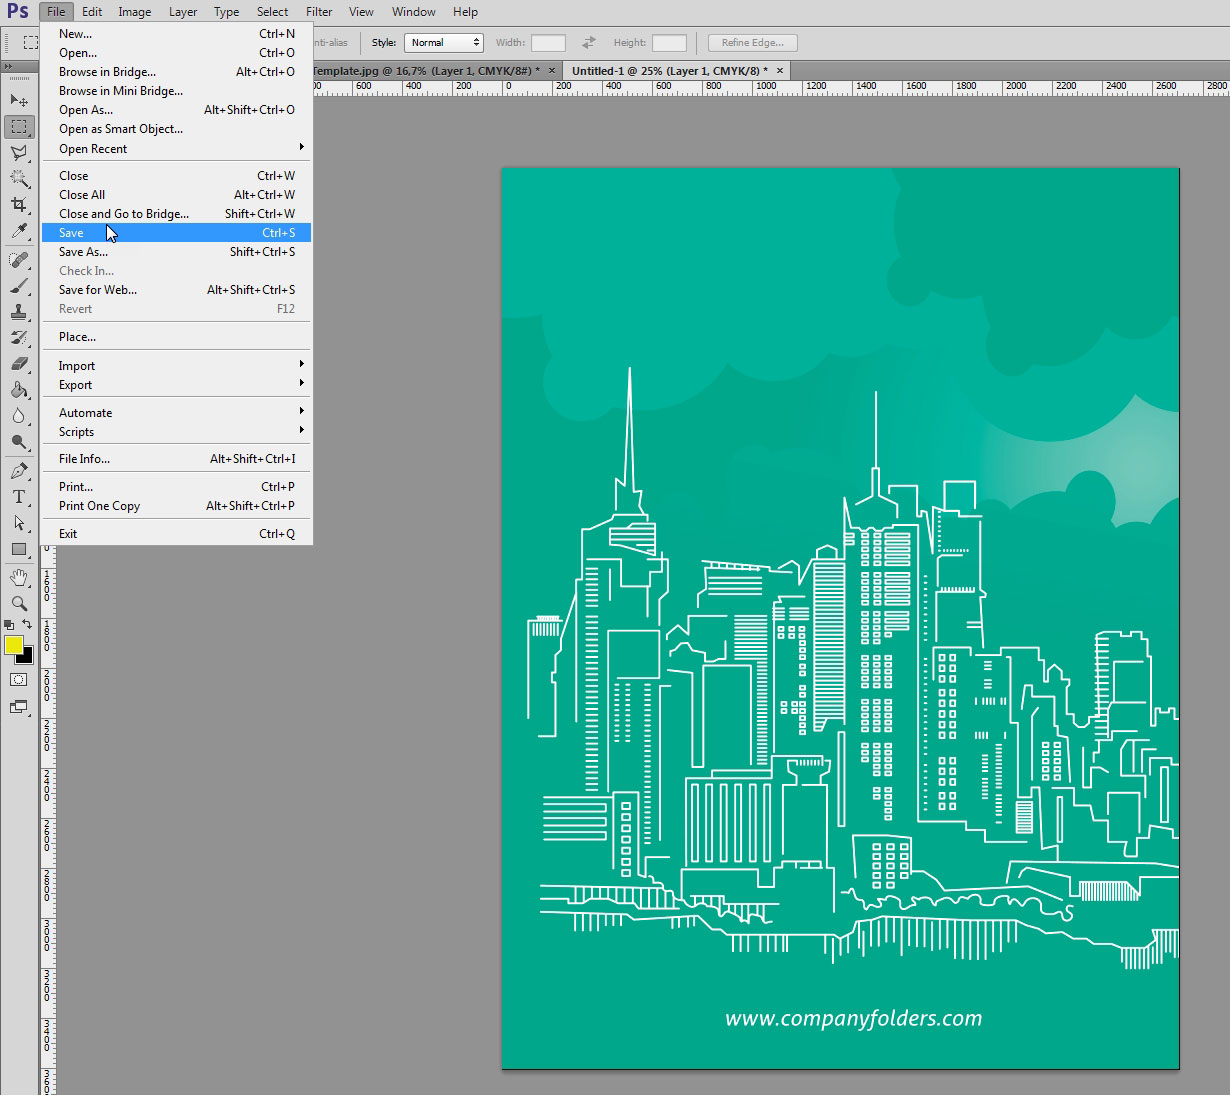
7. Paste the cover image into this new file by clicking Edit > Paste. Save this File as “Cover.jpg” using File > Save.
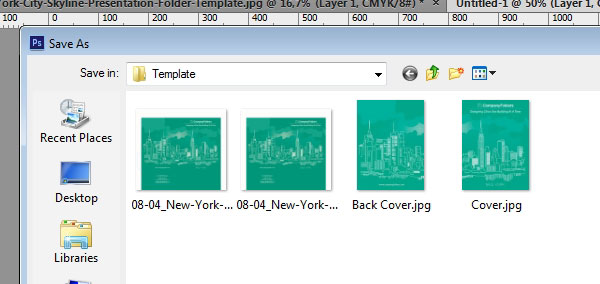
8. Repeat steps 5-7 for the remaining elements in the folder mockup, such as the back cover, interior panels and pockets.
Creating Mockup-Ready Images from a Photoshop Template
1. Open up the Photoshop template. Hold the Ctrl button and click each layer and group below the “Die Cut” layer to select them at once.
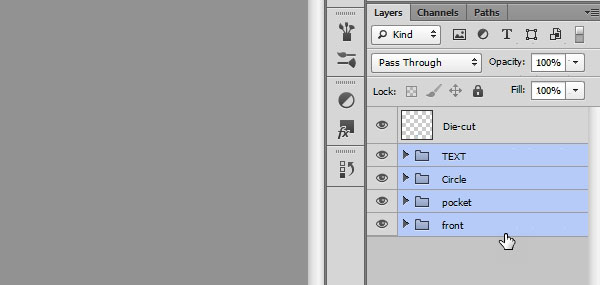
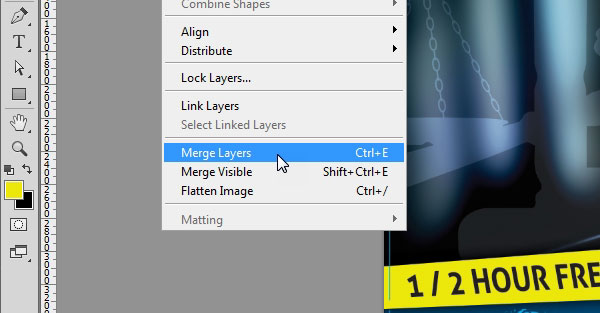
2. Merge the selected layers by using Layer > Merge Layer or the Ctrl+E shortcut.
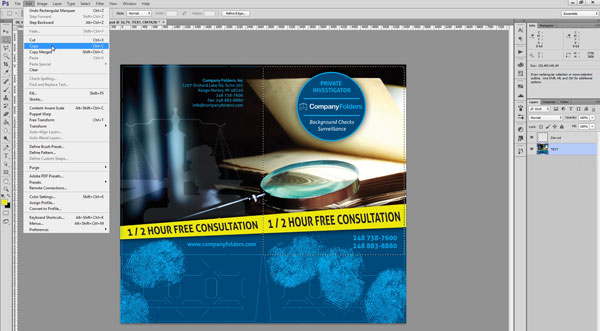
3. Make sure that the resulting layer (which includes all the layers you merged) is selected. Using the Rectangular Marquee tool (press the M button), select the folder’s cover (along the die cut lines which should now be visible) and copy it to the clipboard (Ctrl+C).
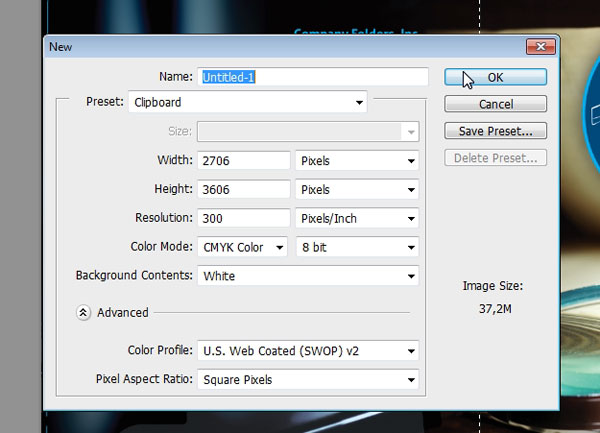
4. Create a new Photoshop file by clicking File > New. Photoshop will automatically fill in the required size, resolution, and color model based on the image you’ve copied.
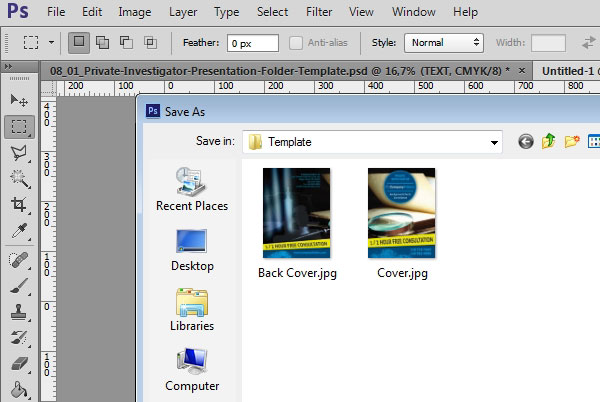
5. Paste the cover image into this new file by clicking Edit > Paste. Save this File as “Cover.jpg” using File > Save.
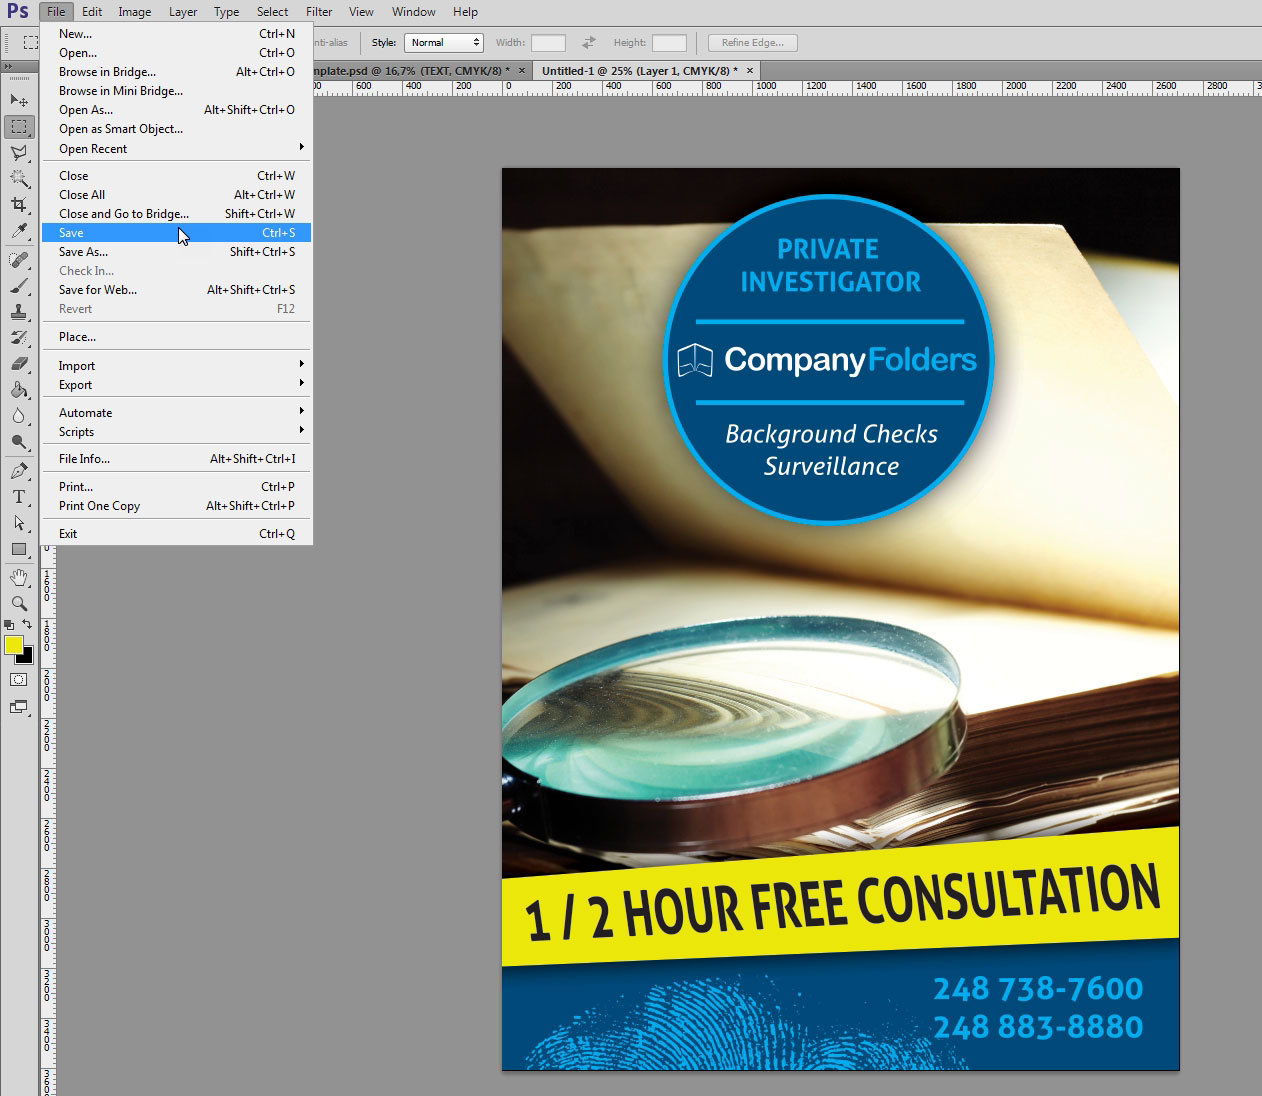
6. Repeat steps 3-5 for the remaining elements in the folder mockup, such as the back cover, interior panels and pockets.
Importing Design Template Images into Mockup
After you’ve created the JPG files you need from a Illustrator or Photoshop design template, you’re ready to apply them to the folder in your mockup.
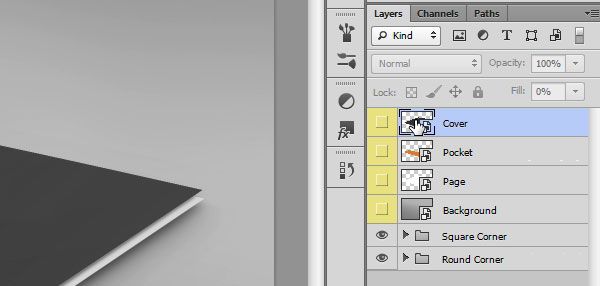
1. Open up the mockup template PSD and double click on the first layer you want to work with. We’ll start with the front cover, so we’ll open the smart object labeled “Cover.”
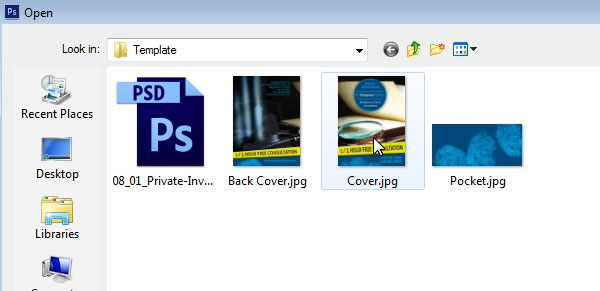
2. Use File > Open or Ctrl+O to open up the “Cover.jpg” file you created earlier.
3. Using the Move Tool (select it from the left bar or just press the V button), click and drag “Cover.jpg” into the cover smart object. Position it so that it looks correct in the document, delete the other layers in the smart object, and save.
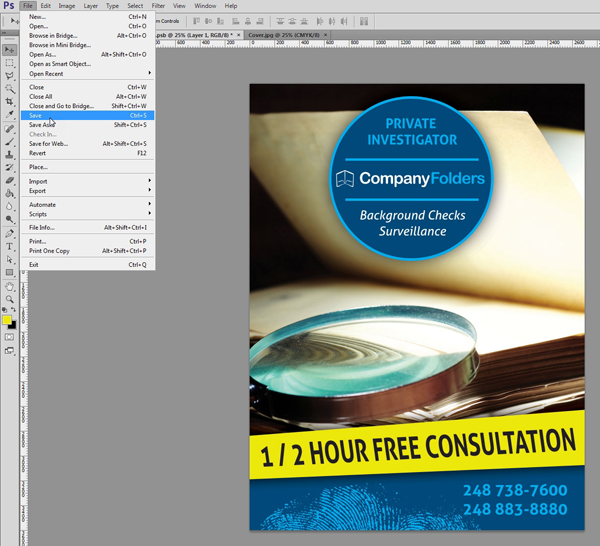
4. Repeat this process for the other elements of the mockup, such as the back cover, interior panels or pockets.
Creating a Realistic Emboss/Deboss Effect
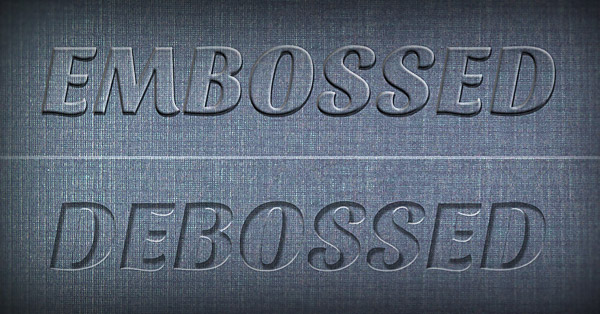
One snag you might run into when translating your design into a mockup is embossed and debossed imprints. On a die cut template you would send to a printer, these types of designs typically show up as just a solid color—not very impressive to look at, and not reflective of how the final product would appear.
Fortunately, it’s easy to create a realistic-looking emboss or deboss in just a few simple steps. Be sure to read our emboss/deboss effect tutorial to learn this technique.
Replacing Mockup Backgrounds
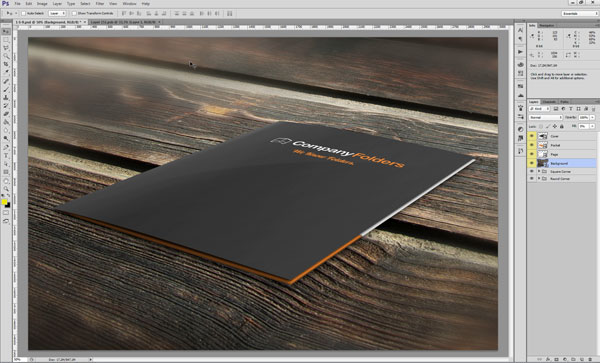
By default, your mockup will appear to exist in a neutral gray space, but this background is easy to replace with another image. By following these steps, you can make your folder appear to be lying on a wooden table, a stone surface, or even a splash of color.
1. Double-click the “Background” layer to open the background smart object.
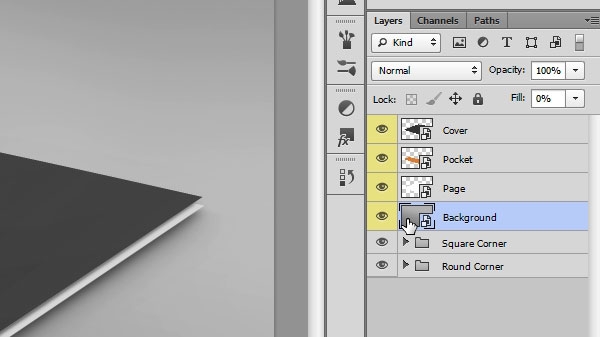
2. Use File > Open or the Ctrl+O shortcut to open the image the you want to be the new background of the mockup.
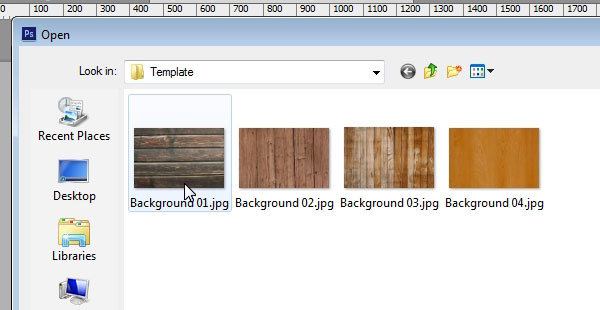
3. Using the Move Tool (select it from the left bar or just press the V button), drag and drop the new background image into the background smart object. Position it as needed using the Move Tool or the Free Transform tool (Ctrl+T). Delete all of the layers in the smart object other than the one you added.
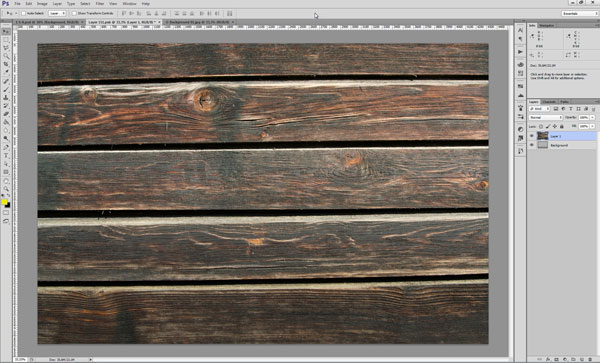
4. Save the results. Your mockup will now have the new background.
Feedback
Do you have any suggestions for our next folder mockup template? We’d love to hear your ideas. Please leave your thoughts and comments below!
This post is a part of our Presentation Folders 101 product guide.





Which version of Photoshop is required to work with these templates.? Is CS 4.0 okay?
Thanks a lot for your reply.
Unfortunately, these templates will not open in CS4. Generally, you’ll need CS6 or better to work with them.